Bike Inner Tube Guide – Choose the Right Tube Easily

Bike inner tube guides are crucial for smooth rides because they help prevent flats and maintain proper tire pressure. Understanding bike inner tubes is essential, whether you’re a casual cyclist or an avid biker. They are the unsung heroes of your biking experience, ensuring comfort and stability on every journey. These tubes fit inside your tires, providing the necessary cushioning and support for various terrains.
Selecting the right inner tube can significantly affect performance and durability. With various options available, it’s vital to know their features and benefits. In this guide, we’ll explore the essentials of bicycle inner tube guides. By helping you choose the perfect fit for your cycling needs, this guide sets the stage for a better ride. Furthermore, dive in and discover how these small components can enhance your biking adventures.
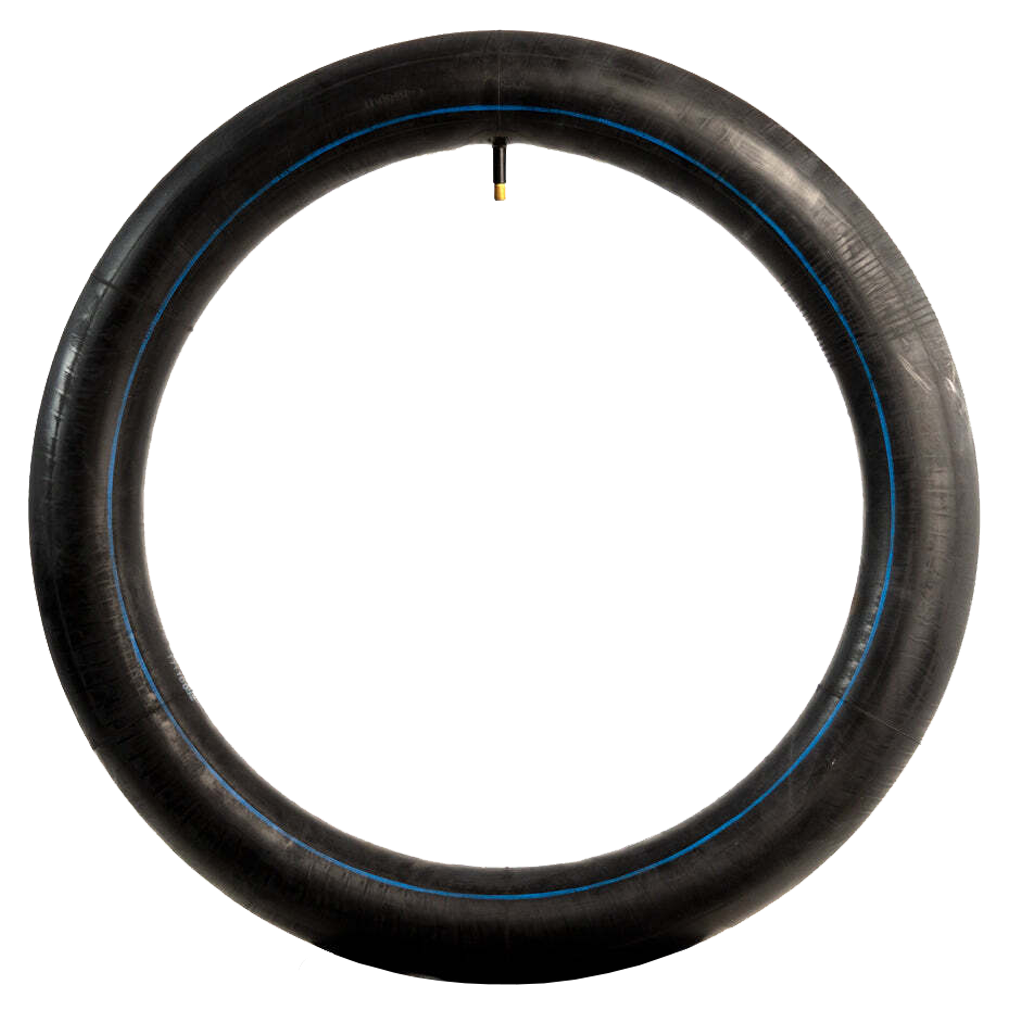
Choosing The Right Bike Inner Tube Guide
Picking the right inner tube size is crucial because it must fit your tire properly. To begin with, check the tire’s sidewall; there, you’ll find numbers indicating the tire’s diameter and width. These numbers are essential, as the tube must match them. In addition to size, tubes also come with different valve types. The most common are Schrader and Presta, so be sure the valve fits your rim hole correctly
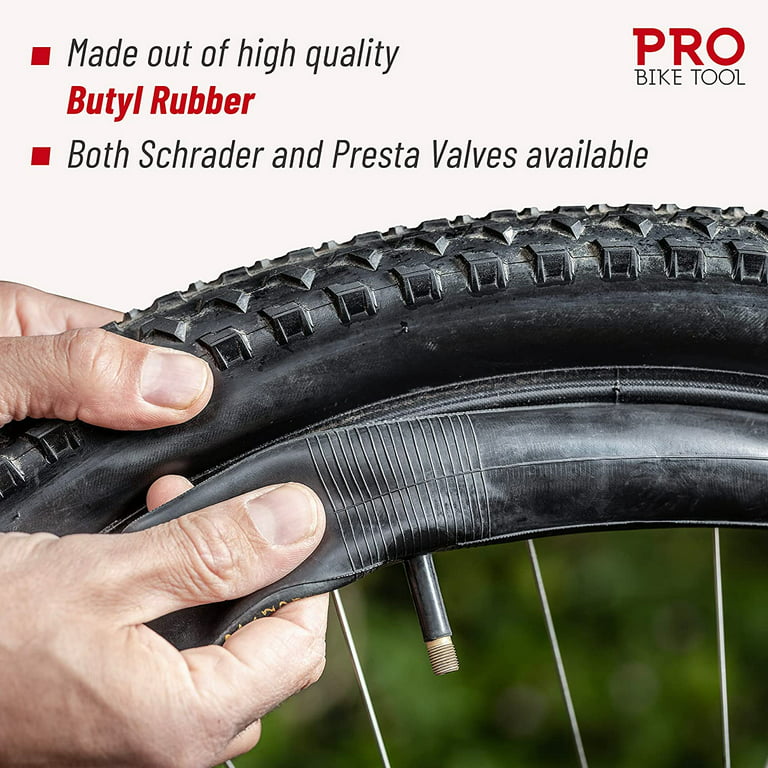
Bike inner tubes come in different materials. For example, butyl rubber is common and affordable; it’s also durable and holds air well. On the other hand, latex tubes are lighter and offer a smoother ride. But they need to be pumped more often. Thermoplastic tubes are tough. They’re puncture-resistant but expensive.
Installing An Inner Tube
You’ll need a few tools to get started. First, gather a tire lever—it’s a must-have. Next, grab a bicycle pump and make sure it’s in good working condition. Then, keep a new inner tube ready, and be sure to check the size. Finally, a patch kit can also come in handy for quick repairs. Just in case.
First, take off the wheel. Then, use the tire lever to remove the tire. Next, carefully pull out the old tube. Before inserting the new one, inspect the tire for any sharp objects. Once it’s clear, gently put the new tube in place. After that, fit the tire back onto the rim using your fingers. Then, inflate the tube using a bicycle pump and check for any leaks. Finally, spin the wheel to ensure everything is properly set and functioning well.
Maintenance Tips for Bike Inner Tube Guide
Check your bike’s inner tube often. Look for holes or cracks. These can cause air to leak out. A slow leak can make your ride unsafe. Make sure the valve is tight. A loose valve can also lose air. Inspect the tube every month. This keeps your bike safe and ready.
To keep the inner tube properly inflated, use a pump with a gauge. This allows you to monitor the air pressure accurately. Also, check the side of the tire, as it shows the recommended pressure. Remember, too much air can cause the tube to pop, while too little air makes riding difficult. Therefore, make it a habit to check your air pressure every week.


Troubleshooting Common Issues
Fixing a puncture is important for a smooth ride. First, remove the wheel and locate the hole. To identify the leak, use water and look for bubbles, which indicate where the air is escaping. Next, patch the hole using a repair kit, pressing the patch firmly in place. Then, let it dry completely before rechecking for leaks to ensure it’s sealed well.
Valve issues can stop air from entering. Check for any loose parts. Tighten if needed. Clean the valve with a soft cloth. Dirt can block air. If it is still broken, replace the valve. Ensure it fits snugly. Test it by pumping air. A working valve holds air well.
Frequently Asked Questions
How Do I Know What Inner Tube Fits My Bike?
To ensure a proper fit, start by examining the sidewall of your bike tire, where you’ll find important size markings. Specifically, these numbers indicate the tire’s diameter and width. When choosing an inner tube, therefore, make sure its diameter and width match these measurements exactly. By matching these sizes, you can prevent issues like improper fitting, air leaks, or tube damage while riding
How Much Does It Cost to Replace the Inner Tube on a Bike?
Replacing a bike’s inner tube typically costs $10 to $20. Prices vary by tube quality and size. Labor fees at a bike shop might add $10 to $15. Doing it yourself can save labor costs. Always ensure compatibility between the tube size and your bike’s tire for best results.
Are bike inner tubes universal?
Bike inner tubes are not universal. They vary in sizes and valve types to fit specific wheel and tire dimensions. Always check your bike’s specifications to choose the correct bike inner tube guide. Proper sizing ensures a secure fit and optimal performance, enhancing your biking experience.
Conclusion
Choosing the right bike inner tube matters. It impacts your ride quality. The tube’s size and material influence performance. Proper maintenance ensures longevity. Check for leaks regularly. Keep the tube inflated to its recommended pressure. This prevents flats and improves comfort.
A good inner tube enhances cycling enjoyment. Invest time in understanding your bike’s needs. Explore options that suit your riding style. Remember, a well-chosen inner tube supports smooth and safe rides. Happy cycling!